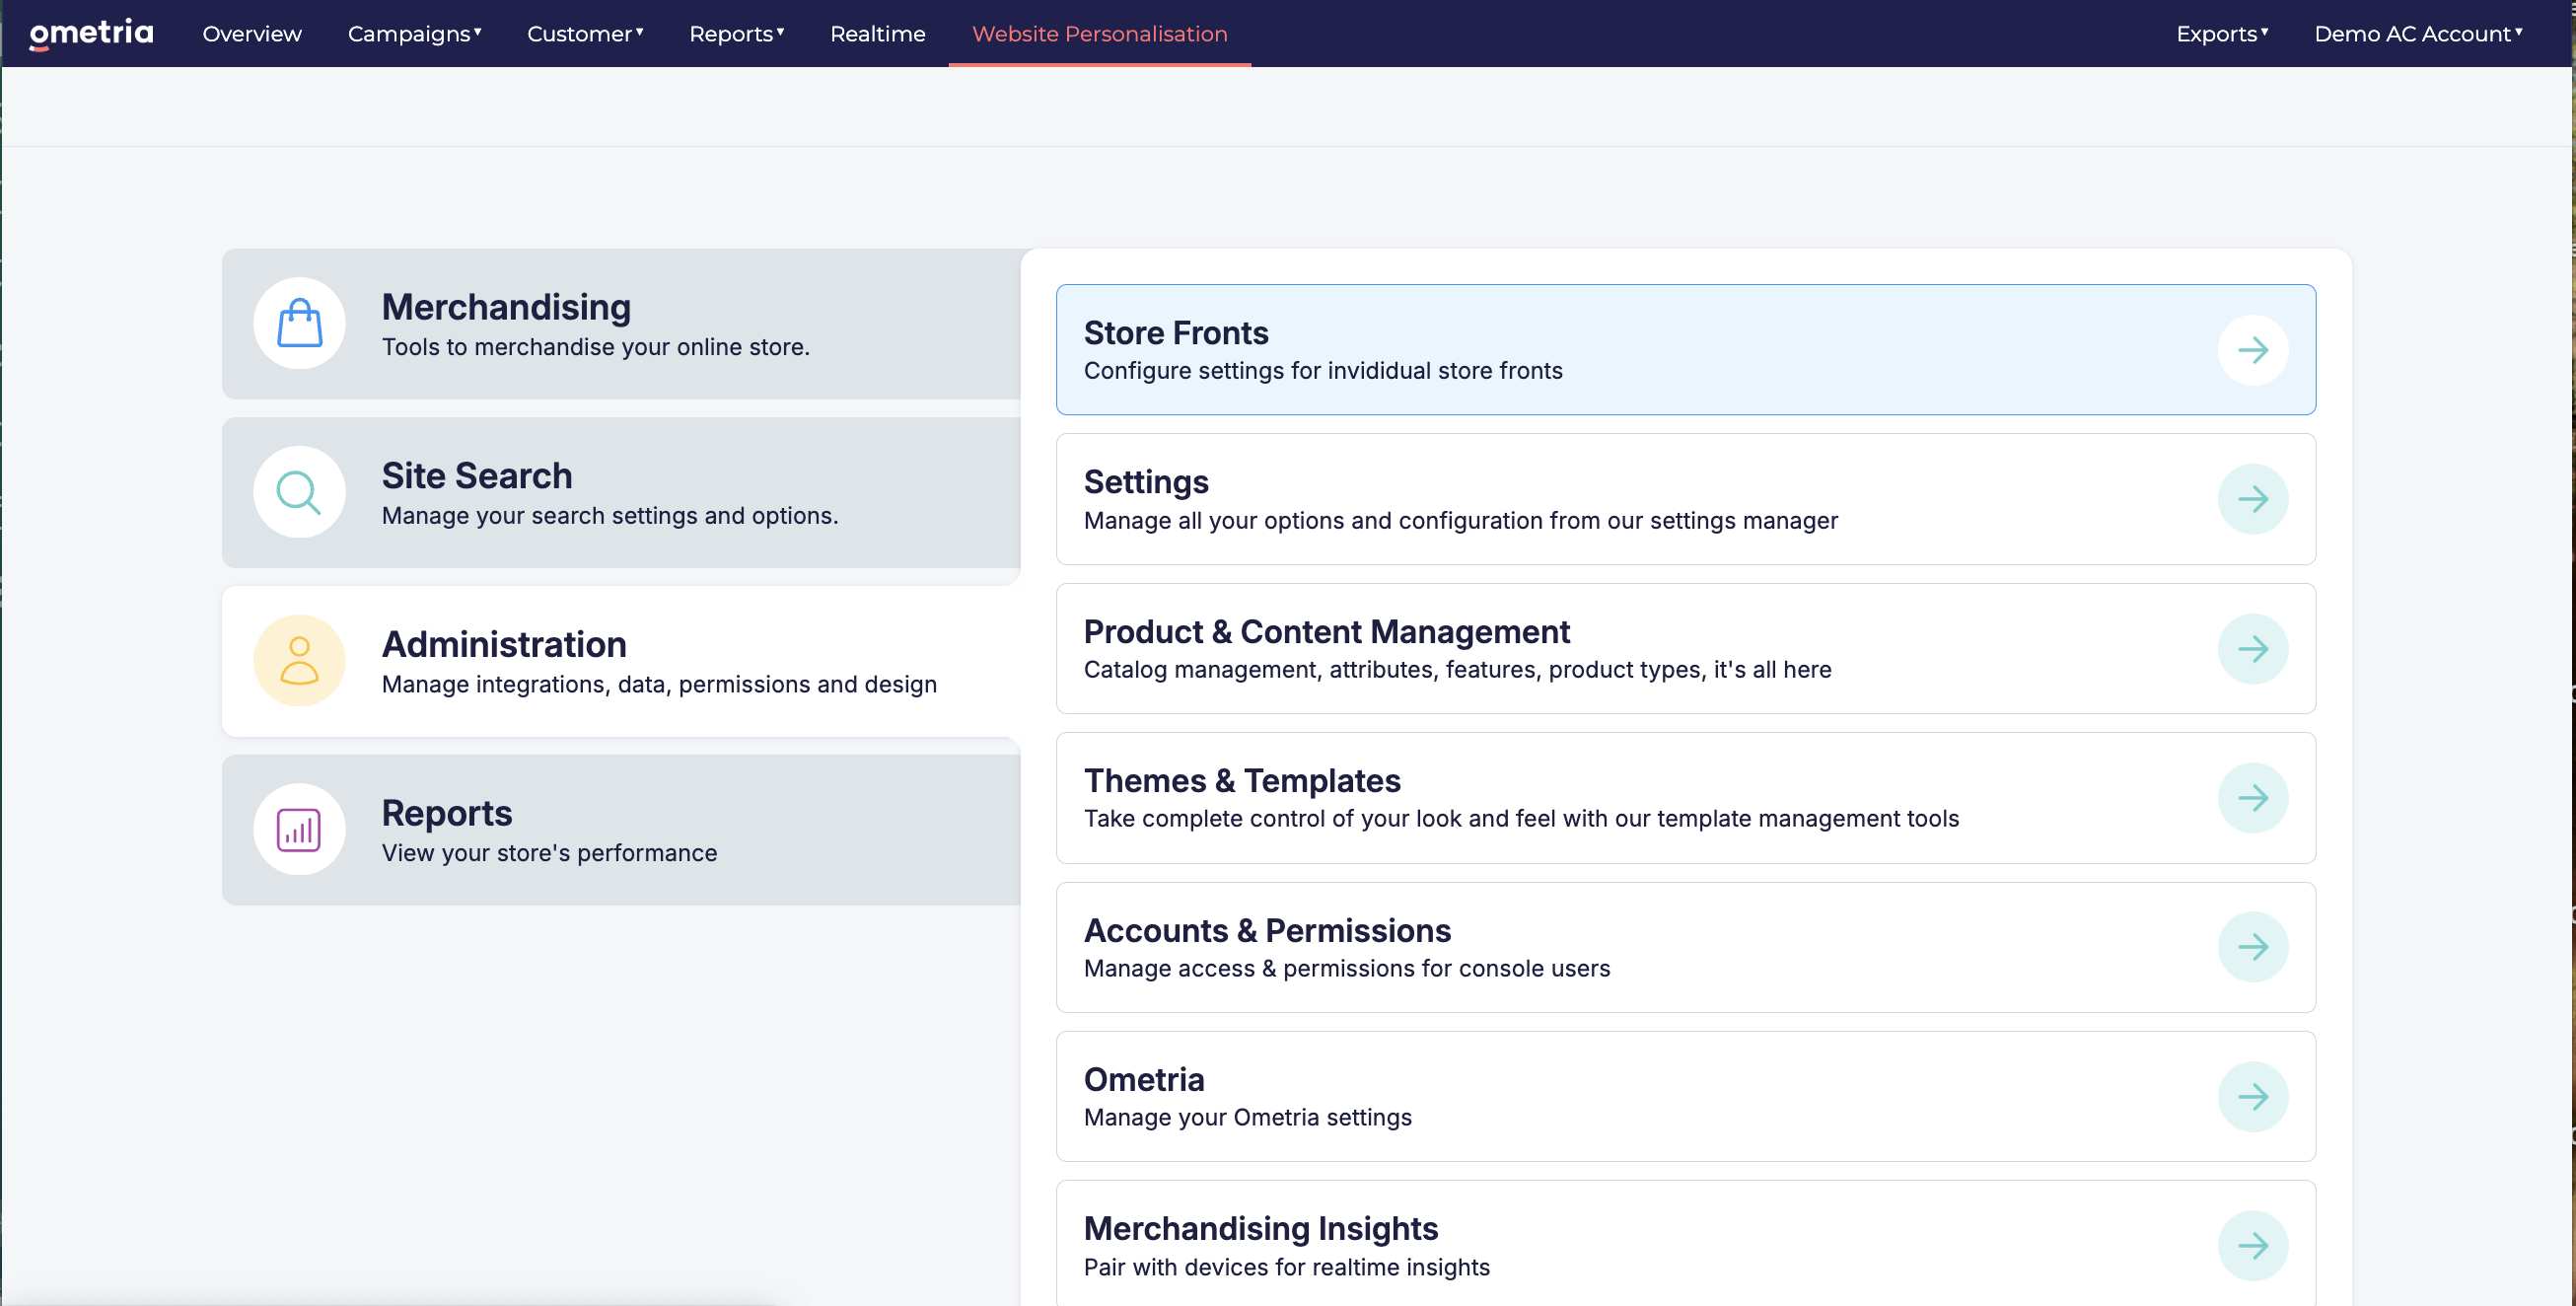
Website personalisation: JavaScript integration
See: Which integration method is right for me?
Quick start guide
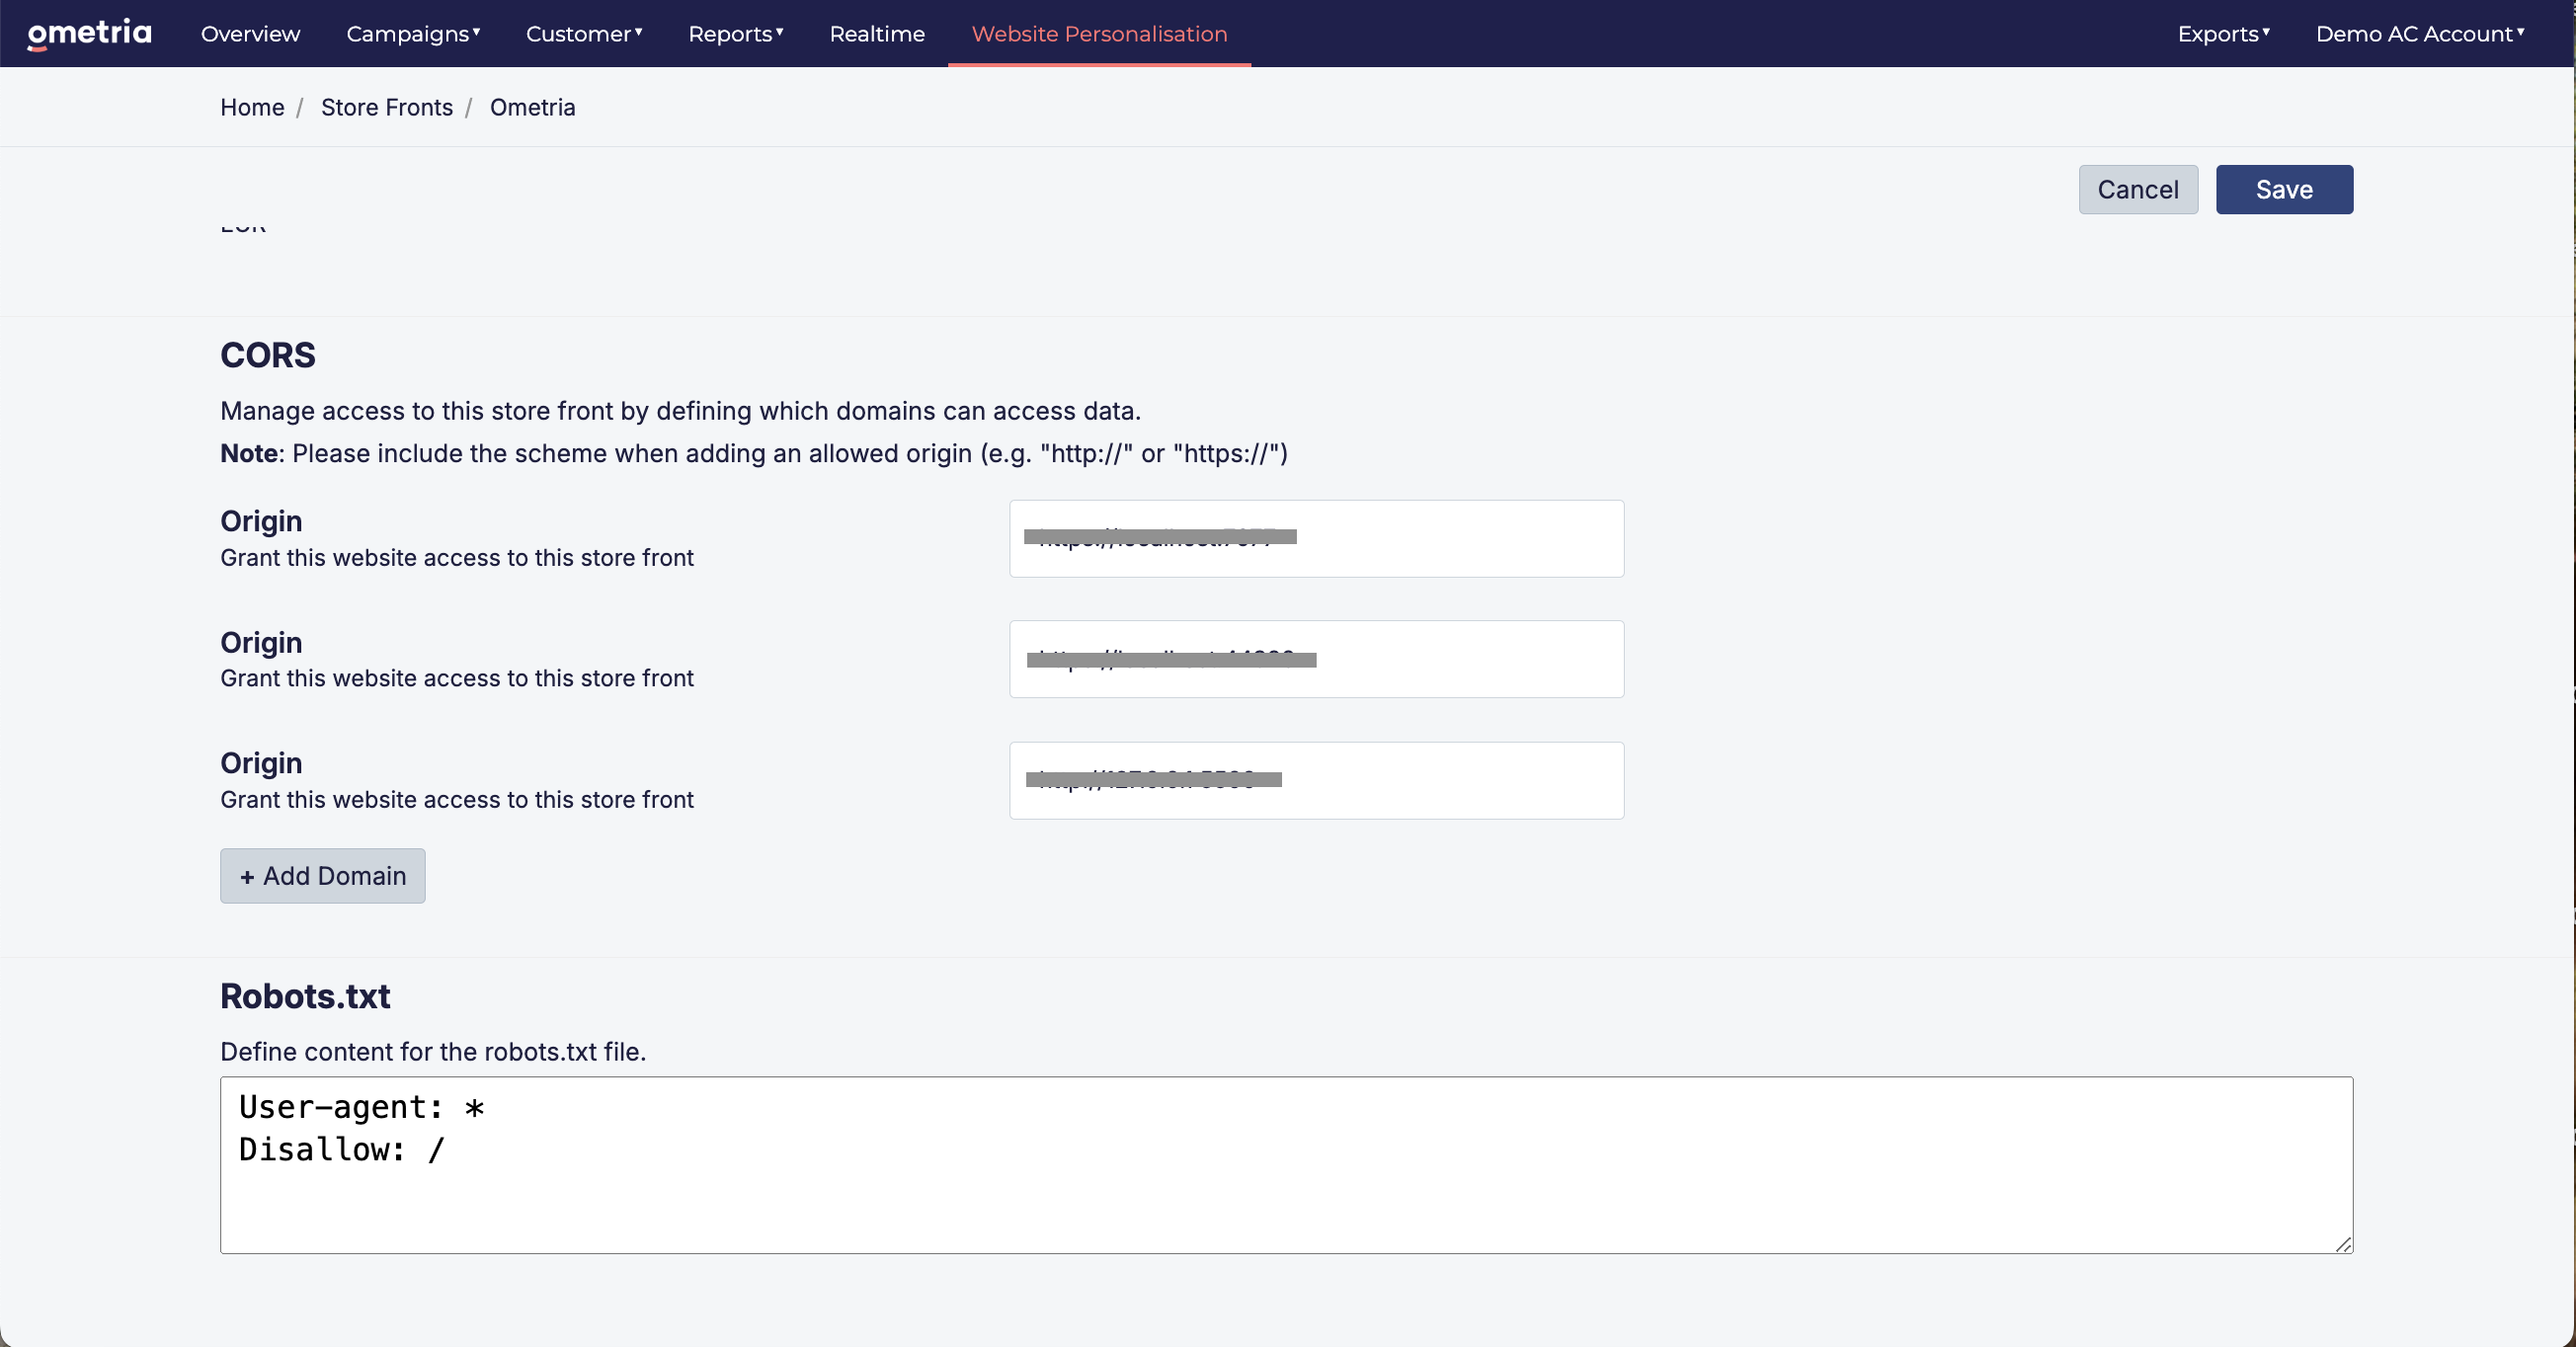
1. CORS
Log into Ometria and go to: Website personalisation > Administration > Store Fronts > [Your store front] > CORS
Add any domains that will need cross origin access to the Website personalisation API.
The url for the console is: https://{{domainkey}}.console-{{locationkey}}.ometria.services
2. Add the website personalisation tag
Next, add our JavaScript tag to your website.
See:Website personalisation tag options
Normally this will be added once to the layout and will typically appear on all pages except the checkout pages.
<script src="https://{{domainkey}}-{{storefrontid}}.store-{{locationkey}}.ometria.services/graphenehc.js"></script>3. Adding content to the page
Here's an example of adding products to a category/collection page:
<div id="Results"><!-- Results from Ometria will be placed here --></div>
<script>
$g.load({
   template        : { id: "category", target: "#Results" },
   page_context    : { category_id: "accessories" }
});
</script>
See also: Query API examples
4. Autocomplete
Add predictive search to your page with a few lines of code:
<-- html input -->
<input id="Search" />
<-- create an element to contain autocomplete results -->
<div id="Autocomplete"><-- Ometria will add content here --></div>
<script>
$g.autocomplete({
   input_selector          : "#Search",
   dropdown_selector       : "#Autocomplete"
});
</script>
Tracking
To complete the integration certain events will need to be tracked using our JavaScript APIs.
Here is an example of tracking an add to basket event:
<script>
$g.track({
   scope           : "basket",
   action          : "add",
   data            : { product_id: "{{ product_id }}", quantity: 1 }
});
</script>
Updated about 1 year ago