Google tag manager
How to integrate Google tag manager with your Ometria JavaScript tracker
Google Tag Manager (GTM) allows you to insert and manage short snippets of code (tags) into your website or mobile app without needing to edit the code.
These tags are often used to:
- collect data for your analytics platform
- configure conversion tracking with your advertising/attribution platform
- set up experimentation and personalisation.
This article explains how to integrate Ometria's JavaScript tracker with Google tag manager.
NoteThis is an overview of the required tags - the logic around triggering your tags is your responsibility.
Before your begin
You'll need to set up a Google tag manager container for your website.
See Google's documentation for guidance.
Shopify users
The Shopify API always returns IDs with full types, e.g. gid://shopify/Product/1234567891234
Ometria requires the ID without the type prefix, e.g. 1234567891234
Google tag manager tags
Create a tag in Google tag manager for each of the different page types in Ometria's JavaScript.
You only need to create tags for the page types you have implemented.
As part of the solution you'll need to initialise the JavaScript tracking using the Ometria global tag.
Ometria global tag
This tag is to initialise the JavaScript tracking on your website.
It's essential that this tag fires once per page load, before any of the other tags fire, otherwise you'll see an error.
See: JavaScript tracker: Installation
<script src="//cdn.ometria.com/tags/<ometria_account_id>.js"></script>
In Google tag manager, create the Ometria global tag as a Set-up Tag.
Add in advanced tag sequencing for all other Ometria tags and select Fire a tag before[other tag] fires:
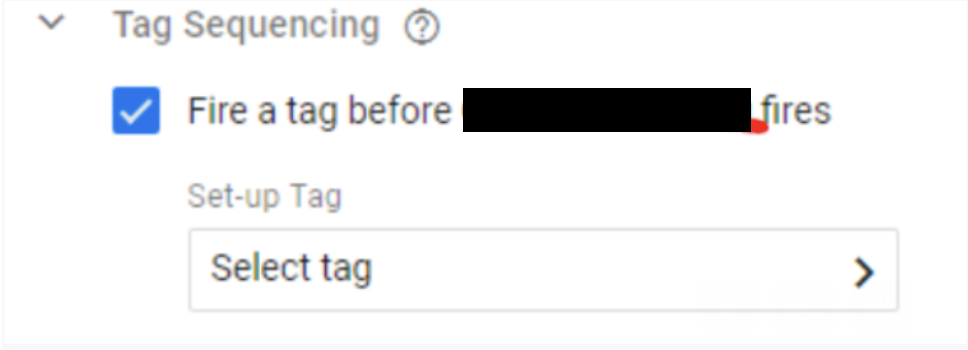
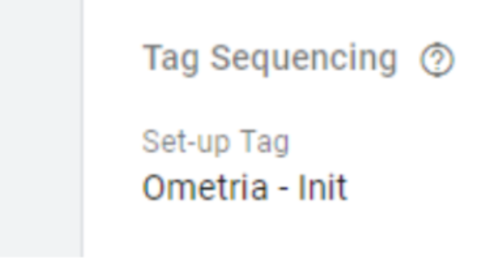
Once set, all your Ometria tags will display below the Set-up Tag:
Identifying visitors
This tag identifies website visitors based on their email address or customer ID.
See Javascript tracking: identifying visitors for more information.
You should trigger this tag across all pages on your website:
<script>
window.ometria = window.ometria || {};
window.ometria.identify(visitor_email);
</script>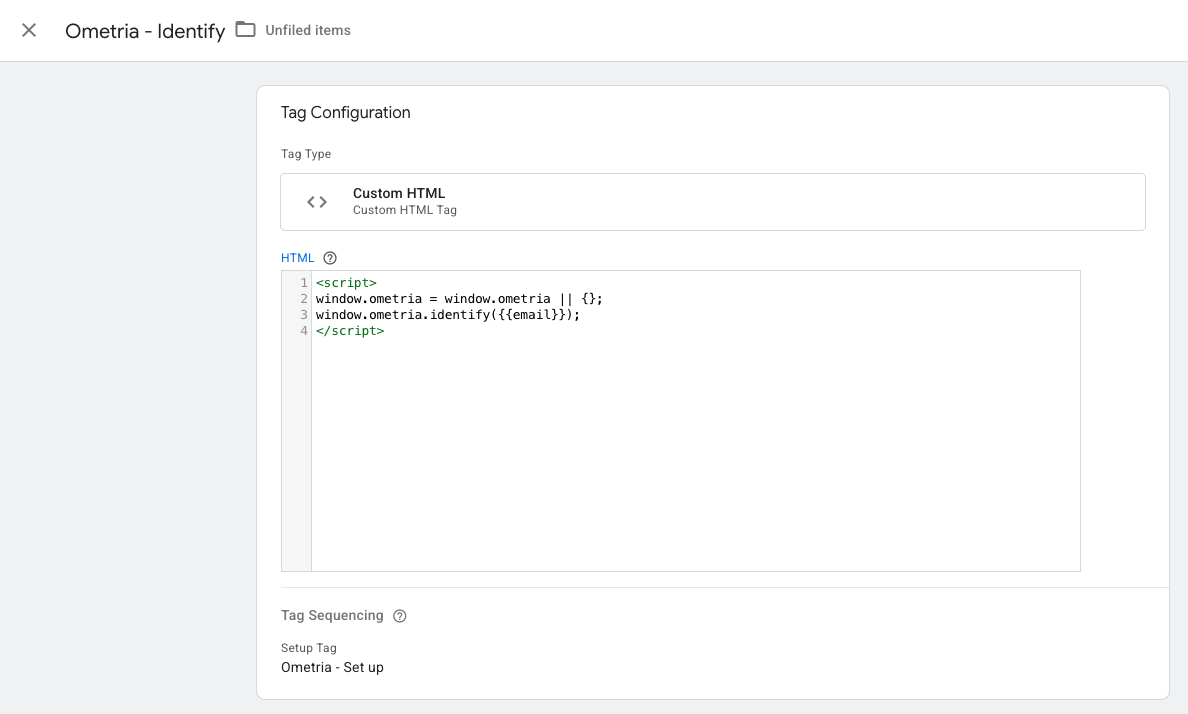
visitor_email in the screenshot above is an example of the required parameter which you should replace with a GTM value, e.g. {{Email Address}}.
You need to create {{Email Address}} as a variable in GTM to pull the data dynamically.
See Google's documentation for guidance on creating variables.
Page type tags
homepage
The homepage is the main index page of your website.
<script>
window.ometria = window.ometria || {}; ometria.init('homepage', null,"{{Store ID}}");
</script>
The ometria.init method pulls in a Google tag manager variable which is your ecommerce site (store) ID {{Store ID}}.
- If you only have one store, you can hard code the store ID:
<script>
window.ometria = window.ometria || {}; ometria.init('homepage', null, UK);
</script>- If you have multiple stores, you'll need to create
{{Store ID}}as a variable in GTM to pull the data dynamically. See Google's documentation for guidance on creating variables.

listing
Listing pages include search results, product listings, categories, collections etc. - any page that displays a list of products.
<script>
window.ometria = window.ometria || {}; window.ometria.init('listing', null, "{{Store ID}}");
</script>
product
The product tag must be implemented and called when a visitor arrives on a product page on your website.
The product IDs you use here must match to the product IDs which are passed to Ometria via the data API.
<script>
window.ometria = window.ometria || {};
window.ometria.init('product', {pid:"{{ecom PID}}"}, "{{Store ID}}");
</script>
This screenshot shows the product ID as hard coded, but we recommend that you create a product variable to pass.
You'll need to build out this logic yourself as part of the implementation. See Google's documentation for guidance on creating variables.

checkout
You'll have the same ometria.init method being called on the checkout page:
<script>
window.ometria = window.ometria || {}; ometria.init('checkout', null, "{{Store ID}}");
</script>
Setting basket contents
You'll need to build out the logic for calling the basket tag yourself.
A setBasket() method which accepts an ometria.Basket object must be called on every page that shows products currently held in the basket/cart - or at least when this data changes state.
<script>
window.ometria = window.ometria || [];
window.ometria.init('basket', null, "{{Store ID}}");
var basket = new ometria.Basket();
basket.setId({{Unique Basket ID}}); basket.setUrl("https://example.com/basket/3454sdf98”); basket.setTotal({{Basket Total}}, {{Currency}});
basket.addLineItem({{Item Product ID}}, {{Item Quantity}}, {{Item Price}},
{{Item Variant ID}}) ometria.setBasket(basket);
</script>
In this screenshot each value is hard coded, but for your own setup we recommend that you build out variables that will populate this dynamically:

Confirmation and tracking
The confirmation page is the final 'thank you' page in the checkout process.
At this stage of the checkout an order is already placed, so you should also prepare the order_id to be called with trackTransaction(order_id).
The order_id is currently hard coded, but we recommend that you create a variable to populate this value dynamically.
See Tracking orders.
<script>
window.ometria = window.ometria || {}; ometria.init('confirmation', null, "{{Store ID}}"); ometria.trackTransaction({{Transaction ID}})
</script>
Updated about 1 year ago